Homemade Berry Ice Cream: The Secret to Dreamy Creamy Texture
There's something uniquely enchanting about a scoop of homemade ice cream, especially when it’s infused with the vibrant burst of fresh or frozen berries. The rich, purply-pink hue, the subtle flecks of real fruit, and that unmistakably creamy texture – it’s a dessert that evokes nostalgia and pure joy. Whether nestled in a crispy cone, served alongside a warm crumble, or enjoyed straight from the tub on a quiet evening, a perfectly crafted
homemade berry ice cream is an experience in itself. Forget the bland, overly sweet store-bought versions; creating this delightful treat in your own kitchen is not only rewarding but surprisingly simple, and we’re here to unlock the secret to achieving that coveted dreamy, creamy texture every single time.
For many, the taste of berry ice cream is tied to fond childhood memories. Perhaps it was the reward after a long grocery shop, a scoop of refreshing boysenberry ice cream chosen after much deliberation. That distinctive, refreshing flavor, often elusive in modern treats, can be perfectly replicated – and even surpassed – with a thoughtful homemade approach. We’ve all encountered homemade ice creams that ended up too icy, too sweet, or lacking in true fruit flavor. But through extensive experimentation, a foolproof method has emerged, ensuring your
berry ice cream hits all the right notes: balanced taste, intense berry essence, and, most importantly, a luxurious, smooth consistency.
Unlock the Secret: Why a Jammy Berry Syrup is Key
The quest for truly dreamy, creamy
berry ice cream often stumbles at one common hurdle: achieving a smooth texture without intrusive ice crystals. Many recipes err by simply tossing whole berries into the ice cream base or swirling a thin, watery syrup through it. While this might look appealing initially, it often leads to a less than ideal eating experience, where chunks of frozen fruit become rock-hard and the ice cream itself can turn icy.
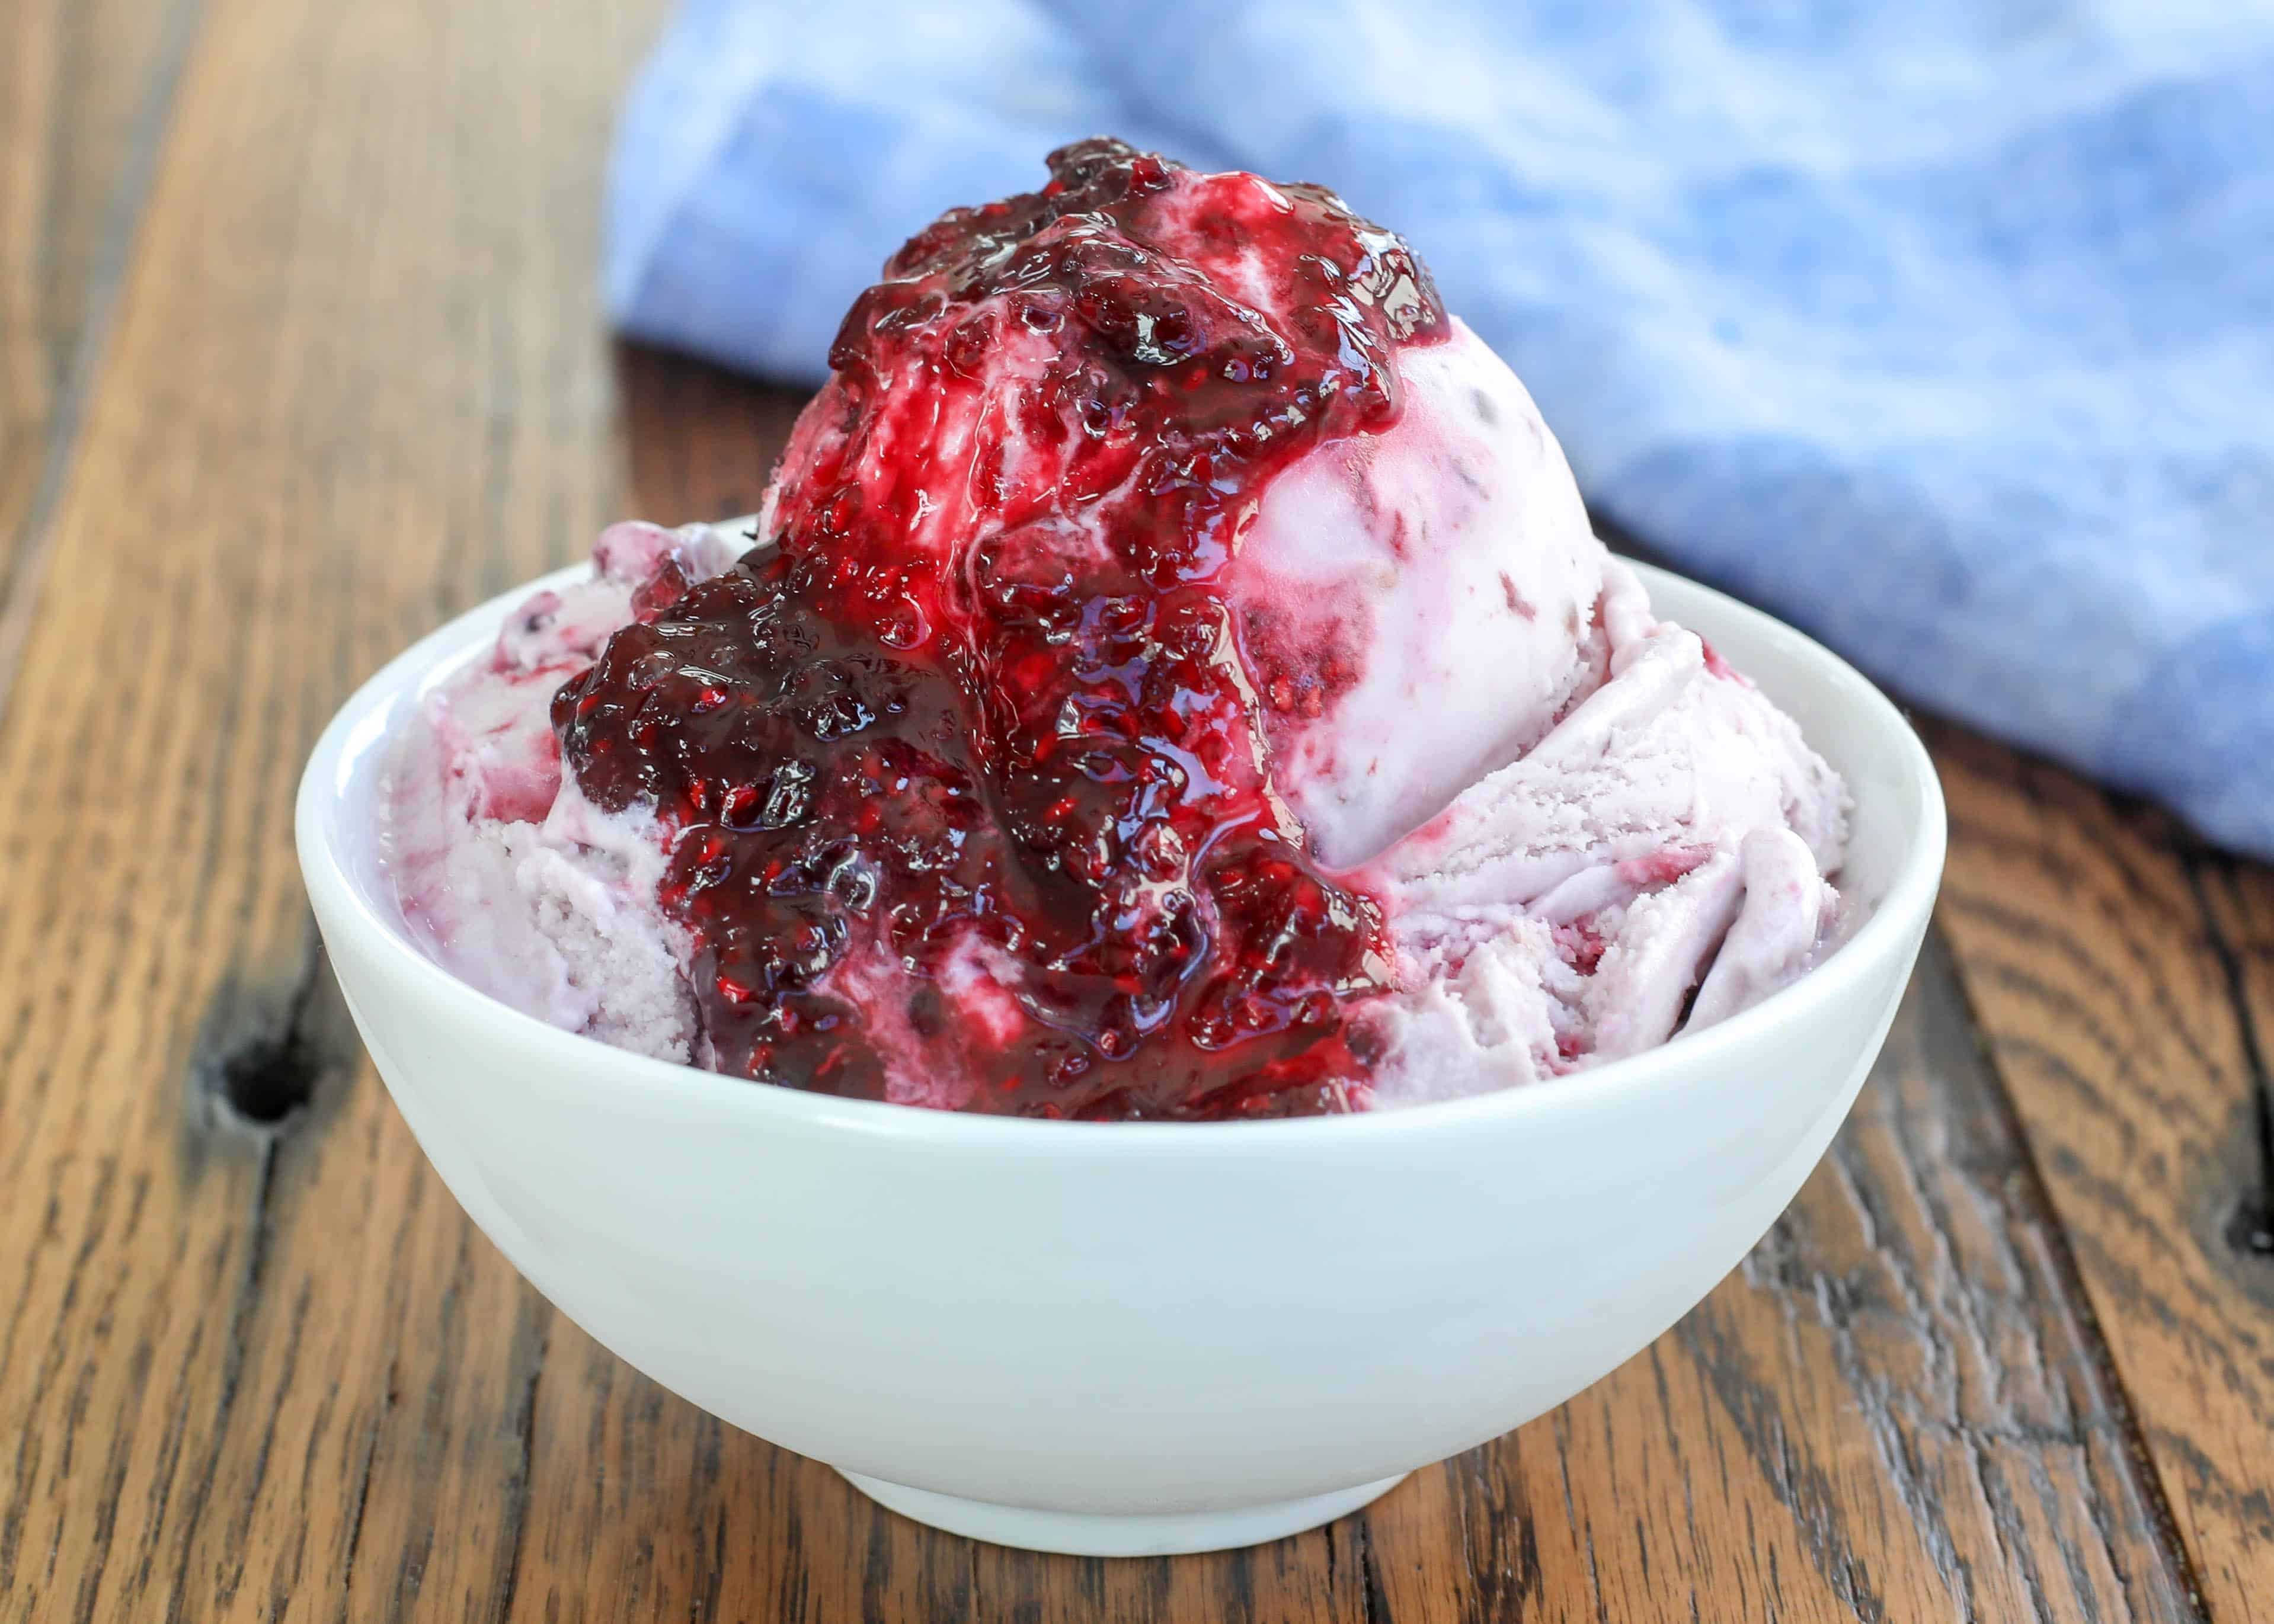
The true secret, the very foundation of a magnificent homemade berry ice cream, lies in creating a thick, intensely flavored,
jammy berry syrup. This isn't just about cooking down berries; it's a deliberate process that transforms the fruit into a concentrated flavor powerhouse and a texture enhancer. When berries are simmered gently with sugar, their natural pectin is released, thickening the mixture into a glorious, jam-like consistency. This thick syrup, with its concentrated fruit sugars, plays a crucial role:
* **Intense Flavor Infusion:** Instead of relying on scattered pieces of fruit, the syrup ensures that every single spoonful of your
berry ice cream is saturated with deep, authentic berry flavor. It’s flavor throughout, not just in isolated pockets.
* **Preventing Ice Crystals:** The sugar in the syrup acts as an anti-freeze. When incorporated into the ice cream base, it lowers the freezing point, preventing the formation of large, crunchy ice crystals that can ruin the texture. The thicker consistency of the syrup also contributes to a smoother blend.
* **Vibrant Color:** A well-made berry syrup imparts a beautiful, natural color to your ice cream base. From the rich magenta of mixed berries to the deep purples of blueberries or the rosy blush of strawberries, the color is as inviting as the taste.
This step, though seemingly small, makes a profound difference in the final product. It’s these "small extra steps" that elevate your ice cream from good to absolutely unforgettable, intensifying the flavor and creating that signature creamy texture you crave. If you're eager to truly
Intensify Flavor: Simple Homemade Berry Ice Cream Recipe, mastering this jammy syrup is your first, best step.
Crafting Your Dreamy Berry Ice Cream: The Simple Steps
Creating your perfect
homemade berry ice cream is more accessible than you might think. The process begins with that magical berry syrup, which then harmonizes with a simple yet decadent vanilla base. What’s fantastic is the flexibility: you can achieve glorious results whether you own a fancy ice cream maker or prefer a no-churn method.
**Step 1: The Jammy Berry Syrup**
1. **Gather Your Berries:** Start with your choice of berries. Frozen mixed berries are incredibly convenient, offering a medley of blackberries, blueberries, strawberries, and raspberries. Fresh berries work beautifully too – just skip the initial microwave step if using fresh and let them sit with sugar for about 15 minutes to release juices.
2. **Sweeten and Simmer:** Combine your berries with granulated sugar. The sugar isn’t just for sweetness; it helps break down the berries, enhances their flavor, and contributes to the syrup’s thick texture. Gently simmer the mixture over low heat, stirring occasionally, until the berries soften and break down, and the liquid reduces to a thick, jam-like consistency. This should take around 10-15 minutes.
3. **Cool and Strain (Optional):** Allow the syrup to cool completely. For a perfectly smooth ice cream, you can strain the syrup through a fine-mesh sieve to remove any seeds or large fruit pieces. For a more rustic, "real fruit" feel with flecks of fruit, simply mash any remaining large chunks and proceed without straining.
**Step 2: The Vanilla Ice Cream Base**
Many prefer an egg-free vanilla base for its lighter texture and simpler preparation. A common and delicious base often involves heavy cream, condensed milk, and good quality vanilla extract.
1. **Whip the Cream:** In a large bowl, whip cold heavy cream until soft peaks form. This provides the airiness and rich mouthfeel.
2. **Fold in Sweetness and Flavor:** Gently fold in sweetened condensed milk. This is where a significant portion of the sweetness comes from, and it also contributes to the smooth texture, especially crucial for no-churn versions. Add a generous amount of high-quality vanilla extract. Resist the urge to use vanilla essence, which is an artificial flavor; pure vanilla extract makes a world of difference in depth and aroma.
**Step 3: Combining and Freezing**
Once your vanilla base is ready and your berry syrup is cooled:
1. **Swirl the Magic:** Gently fold or swirl the jammy berry syrup into the vanilla ice cream base. You can swirl it completely for a uniform pink color, or just partially for beautiful streaks of berry goodness.
2. **Choose Your Method:**
* **Churned Ice Cream:** If you have an ice cream maker, transfer the mixture to your churn and follow the manufacturer's instructions until it reaches a soft-serve consistency. Then transfer to an airtight container and freeze for several hours to firm up.
* **No-Churn Ice Cream:** For those without an ice cream maker, simply pour the mixture into a freezer-safe container, cover tightly, and freeze for at least 6 hours, or preferably overnight, until solid. The combination of whipped cream and condensed milk makes a surprisingly creamy no-churn ice cream. For a detailed guide on this simpler approach, check out our article on
Easy No-Churn Berry Ice Cream: 5 Ingredients, Quick Prep.
Beyond the Recipe: Tips for Berry Ice Cream Perfection
Elevating your
homemade berry ice cream from delicious to extraordinary involves a few thoughtful considerations:
* **Berry Choice Matters:** While mixed berries offer a beautiful balance, don't be afraid to experiment. Use a single type for a distinct flavor – pure strawberry, intense raspberry, or unique boysenberry. The natural acidity and sweetness of different berries will slightly alter the final taste and even the color of your ice cream.
* **The Role of Sugar:** Granulated sugar is standard, but you can adjust quantities slightly based on the sweetness of your berries and personal preference. Remember, sugar isn't just for taste; it's a vital component in achieving that non-icy, smooth texture.
* **Vanilla Quality:** As mentioned, good quality vanilla extract is non-negotiable. It provides a warm, aromatic backdrop that beautifully complements the bright fruit flavors without overpowering them.
* **Freezing and Storage:** Always store your ice cream in an airtight container to prevent freezer burn and keep it tasting fresh. For the best scooping consistency, let the ice cream sit at room temperature for 5-10 minutes before serving.
* **Creative Servings:** While perfect on its own, your
berry ice cream is incredibly versatile. Serve it atop a warm berry crumble, alongside a slice of lemon cake, drizzled with homemade magic shell or chocolate syrup, or even with a sprinkle of fresh mint for a refreshing twist.
The Irresistible Appeal of Homemade Berry Ice Cream
Making your own
berry ice cream is more than just following a recipe; it's about crafting an experience. It's about taking simple, wholesome ingredients and transforming them into a decadent treat free from strange additives or unpronounceable chemicals often found in commercial varieties. You control the sweetness, the intensity of the berry flavor, and the type of berries used, making it endlessly adaptable to your taste and what’s in season or in your freezer.
There’s immense satisfaction in scooping out a vibrant, creamy serving of something you created, especially when it’s packed with real fruit goodness. It’s a chance to relive cherished memories or create new ones, sharing a refreshing, perfectly balanced dessert with loved ones. The simple preparation, the beautiful color, and the unparalleled flavor make homemade
berry ice cream a staple you'll want to revisit again and again.
So, gather your berries, prepare to unlock the magic of that jammy syrup, and embark on a delicious journey to creating the most dreamy, creamy homemade berry ice cream you've ever tasted. Your taste buds (and your freezer) will thank you!